Cupping Therapy

As cupping therapy gains popularity as an alternative therapy, many individuals are intrigued by the idea of trying it at home for massage cupping. Doing cupping at home can be cost-effective and convenient compared to visiting a professional cupping practitioner. However, it’s essential to exercise caution, and we strongly recommend seeking assistance from another person to ensure your safety. Now, let’s introduce you to the 14 steps for performing cupping therapy at home. https://georgetownsuncryo.com/
- Select the Treatment Area Choosing the right area for cupping is crucial. Depending on your treatment goals, specific regions of your body are ideal for cupping, such as the back, stomach, arms, and legs.
- Cleanse the Skin Before applying cups, thoroughly clean the skin by washing it with soap and water. Then, pat it dry with a clean towel.
- Apply Oil or Cream To reduce skin irritation and facilitate cup movement, apply a small amount of oil or cream to the skin in the treatment area.
- Prepare Your Cups Ensure your cups are clean and sterilized, regardless of whether you’re using silicone, plastic, or glass cupping sets.
- Soak a Cotton Ball in Rubbing Alcohol For those using glass cupping sets, use medical tweezers to dip a cotton ball in rubbing alcohol. This step helps create suction.
- Ignite the Cotton Ball Exercise caution during this step. Use tweezers to hold the cotton ball and ensure all flammable materials are kept away. Keep control of the flame throughout the process.
- Place the Burning Cotton Ball in the Cup Hold the hot cotton inside the cup for up to five seconds until the glass feels warm, but not excessively hot. It should be warm to the touch and safe to handle without gloves.
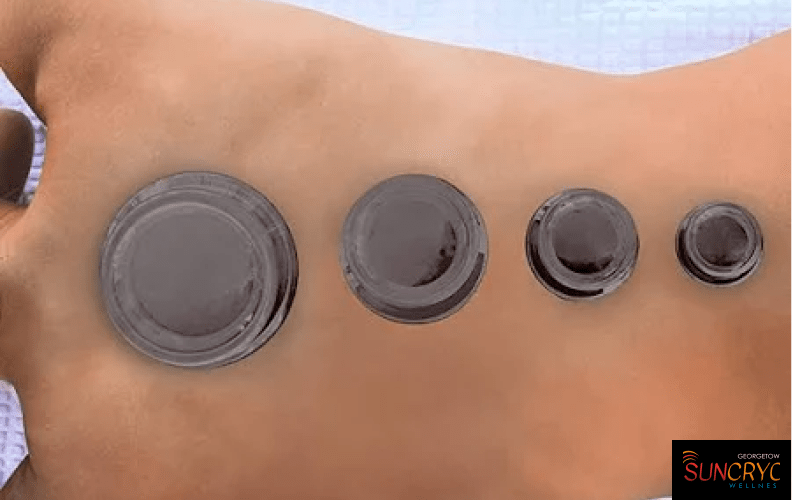
- Apply the Cup to the Skin Swiftly invert the cup and place it on the treatment area. As it cools, a vacuum is created inside the cup, stimulating the pores and enhancing blood flow.
- Repeat as Needed Work with one cup at a time and repeat the process until all cups are applied to the body. Use smaller cups for bony joints and larger cups for broader areas.
- Extinguish the Flame Dispose of any lit cotton by placing it in a fire-resistant container and covering it with a lid to extinguish the flame.
- Leave the Cups in Place Allow the cups to remain on the skin for five to ten minutes. The skin beneath should turn from red to purple. Then, remove the cups by gently lifting them off with your hands. Do not exceed a fifteen-minute application.
- Expect Bruising After the cupping therapy session, expect minor bruising and marks. These marks are generally painless and will fade within a few days to a week.
- Address Blisters (if necessary) While it’s rare that cupping blisters develop, address them by carefully pricking, draining, and disinfecting them.
- Use Cupping Sparingly Excessive cupping can be detrimental to your health. Adhere to the recommended time limits and avoid repeating cupping for more than ten consecutive days.

summary
these 14 steps are designed for body cupping. If you wish to perform facial cupping, use specialized facial cups and follow specific instructions. https://www.temu.com/cupping-therapy-set-s.html
If you’re interested in trying cupping therapy at home and need the necessary tools, don’t hesitate to visit Lierre.ca. We offer a wide range of high-quality cupping sets and other massage accessories for your convenience and comfort.
